How To Shoot Better Small Product Photography With Your iPhone

About Jack Hollingsworth
Jack Hollingsworth, a denizen of Austin, TX, is an award-winning, 30-year career veteran in commercial photography. Jack has fallen in love with his iPhone camera as his primary capture tool. He is also an avid Camera+ devotee and has been since day one. He deeply believes that, when all is said and done, the iPhone may just be remembered as the most influential capture device ever in the history of photography.
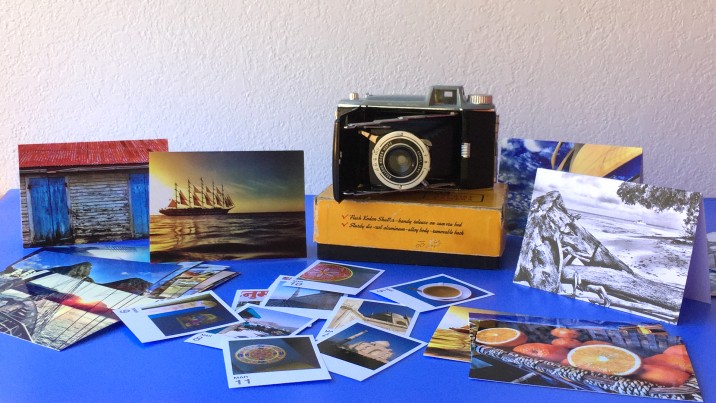
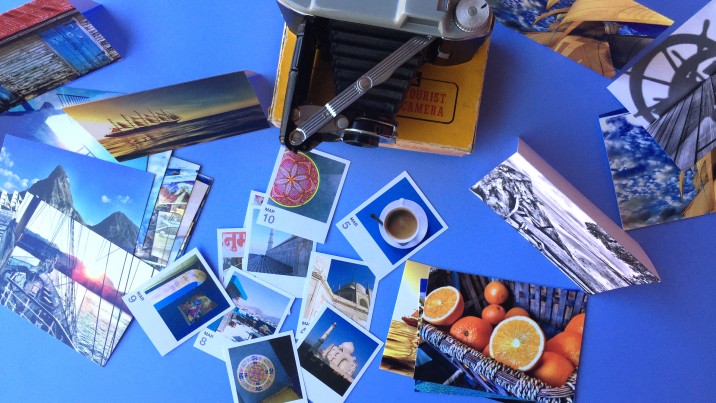
This is a tutorial especially designed for newbies who want to learn to take better small product photos with their iPhone cameras. It’s especially applicable to entrepreneurs who sell small products online via Etsy, Ebay and/or Craigslist.
A Picture Is Worth 1000 Words
You’ve no doubt heard the adage that a picture is worth 1000 words. Not so fast! If I were modernizing this phrase for today’s competitive online market, it would read more like this…“A (properly exposed, properly focused, properly white-balanced, property composed) picture is worth 1000 words.”
Photographs influence buying decisions. Period. Get it right in the camera and I promise you’ll see positive results and returns!
Location, Location, Location
So where is the best place to shoot small product photography? You have two options:

If you are shooting indoors, then look for windows that are either north or south facing. This will insure that you get that beautiful, soft, indirect, light. When you shoot indoors, you’re going to need a lot of light. Find the brightest room and set up a ‘make shift’ table right in front of or just next to the window.
During the more temperate time of the year, wait for an overcast day and shoot outdoors on a patio or deck. It will offer you a well-lit area for shooting small products. For this particular tutorial, I shot all of my small product photographs in a big garage, with the doors wide open offering a north facing view. The light was soft, creamy and relatively even throughout the day.
A Lighting Primer: Natural, Artificial, and Ambient
There are three terms you need to know when it comes to lighting small product photography:
Natural Light is the light cast by the sun (this also includes the moon and stars!).
Artificial Light is light that is cast by any man-made light source…like light bulbs.
Ambient Light (also called available light) is generally some combination of natural and artificial light.
3 a lighting primer


As a general rule, I want my small product photography to look as natural as possible so I’m always looking for natural light as my primary light source. If you are shooting indoors, you’re going to need to white-balance your photos first in order to avoid the unnatural ‘orangey-red’ cast that comes from artificial light sources.
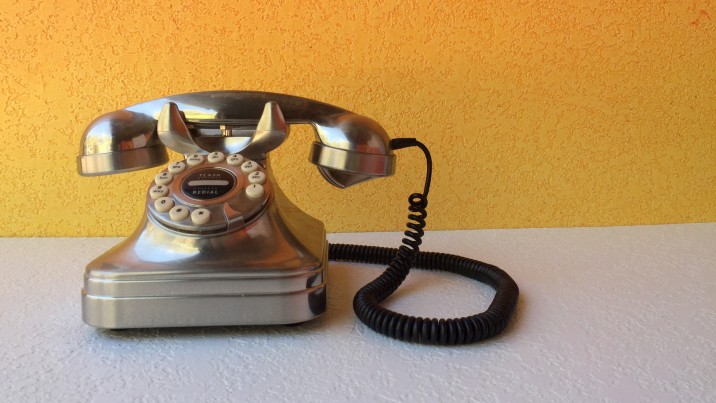
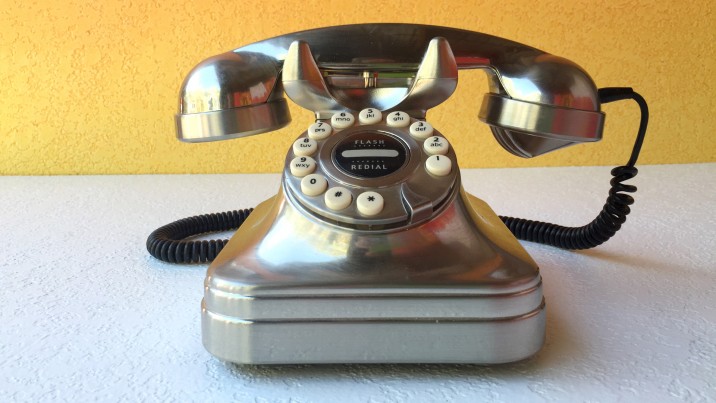
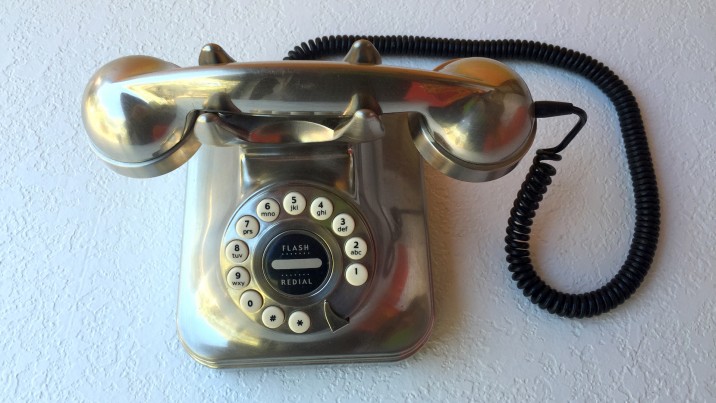
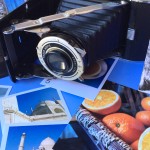
3 telephone shots


How Many Pixels Do You Really Need?
I get asked this questions all the time. Is the lowly 8MP iPhone camera big enough for small product photography? My simple answer is unquestionably yes! Especially if you are sharing these photos online (i.e. blog, Etsy, Ebay, Craigslist, or any social media). Here’s a handy Infographic I found about pixels.
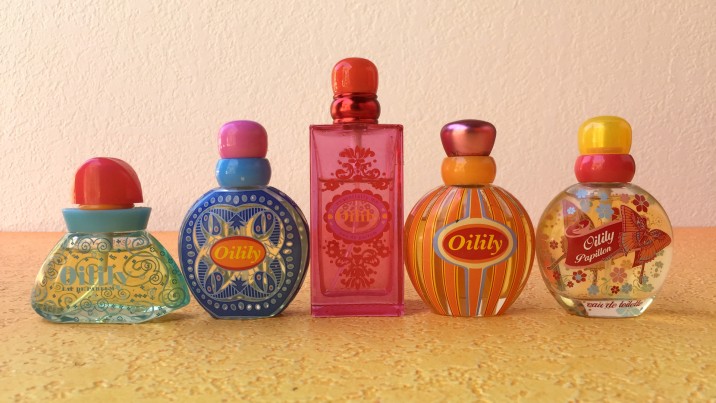
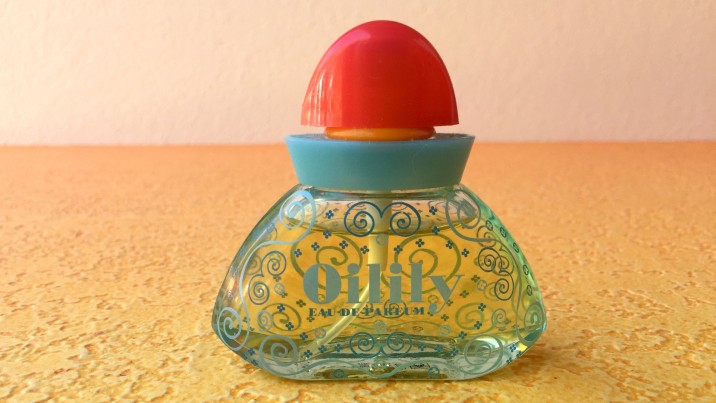
4 perfume bottles
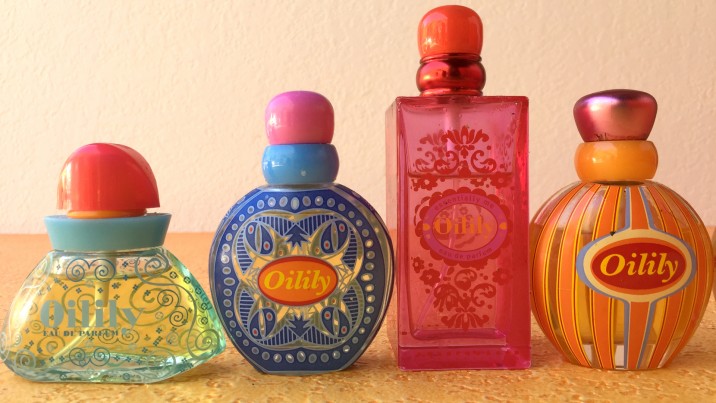


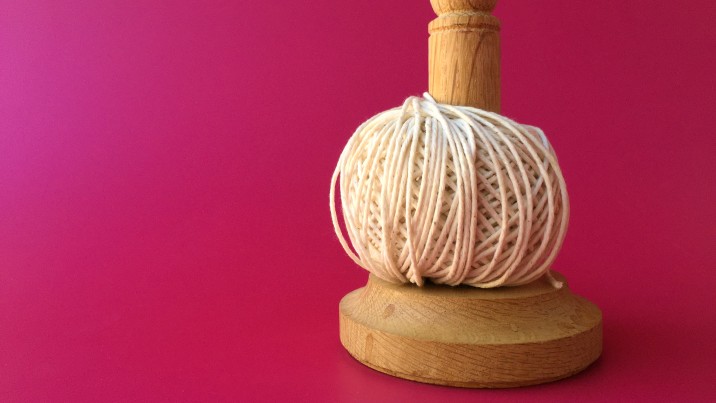
Infinity Curve Or Sweep
The ‘infinity curve’ (or sweep) is a simple photographic technique designed to give the impression that the background extends to infinity. You can use almost any type of material to create your own DIY infinity curve – large poster board, plexiglas, roll of craft paper, ironed white sheets or curtains. I keep a set of large polymer backgrounds handy that I bought in different colors from Modahaus. These backgrounds are anti-static, easily cleanable and food safe! They are awesome for quick and easy small product shots.
5 infinity sweep


Less Is More
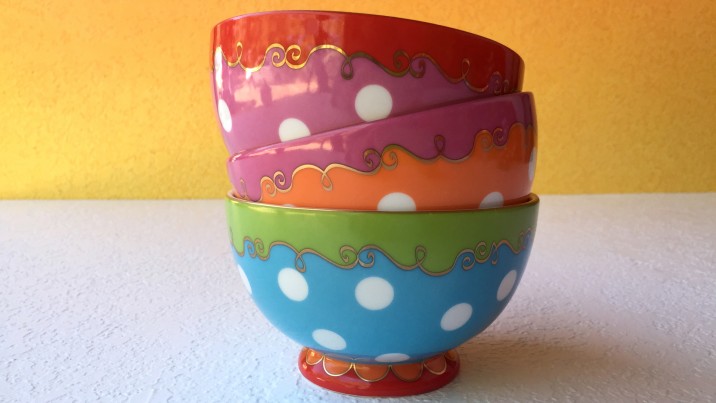
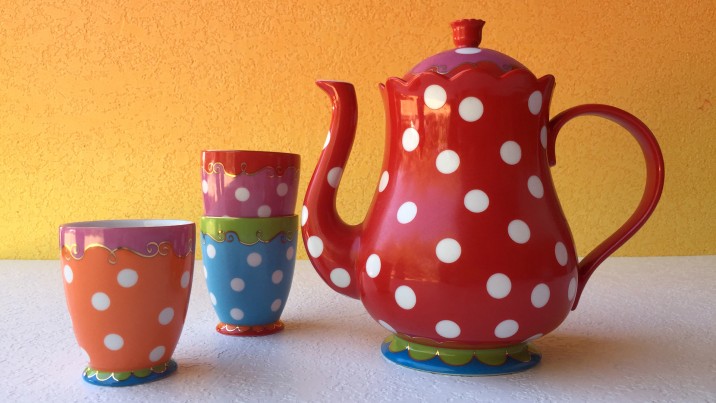
If you look at a lot of small product photography online, you’ll notice that many of them are shot on and against white backgrounds and backdrops. Why, you ask? Because when you’re fighting for viewer attention online…less is more.
I’ve also found that shooting on a white (or a neutral) background helps to focus attention on the content (the object being photographed) and not the context (the environment the object is in). If you are shooting against a white background, make sure you ‘overexpose’ about 1 to 1.5 full stops so that the white turns out ‘truly’ white (and not gray). You can only do this when you use a photo app that allows you manual control over exposure.
6 teaset


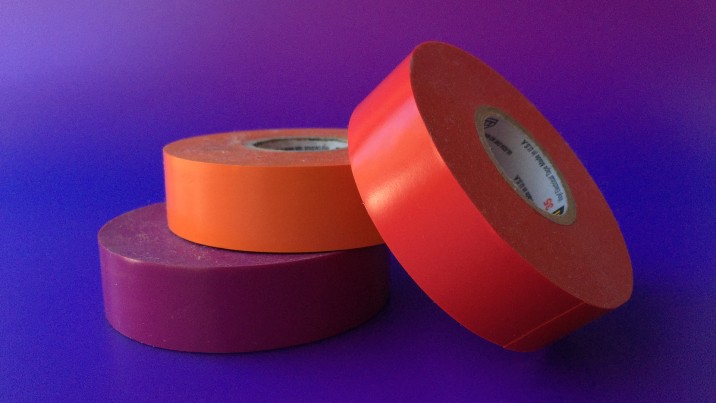
‘Camera To Subject’ Angle
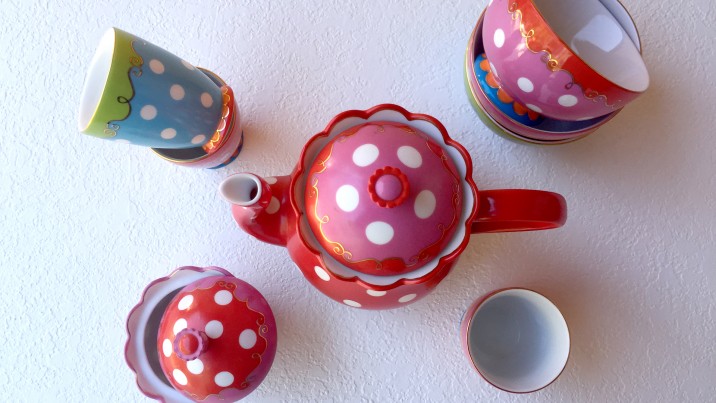
The ‘camera to subject angle’ is the angle of the camera to the subject or object you’re shooting. This might come as a surprise to you but the camera angle can and will easily affect the way the viewer perceives the subject you’re photographing. For the most simple, straightforward small product photography, there are three key camera angles you need to master:
Low Angle is the ‘worm’s eye view’. You can put your iPhone camera right on the shooting surface itself and fire away.
Front Angle is where your iPhone camera is approximately at a 45˚ angle to the subject. It’s often called a ‘front ¾ view’ and it’s the most popular because it is how we, as humans, naturally perceive most scenes and subjects.
High Angle is the ‘bird’s eye view’. This is when you shoot directly overhead. This angle is often the most graphic and representational view.

Lens and ‘Field Of View’ (FOV)
It’s important to keep in mind that the iPhone camera comes packaged, right out of the box, with a 4.15mm lens and a fixed aperture of f2.2. In photography language, it’s the 35mm equivalent of a 30mm lens with an approximate FOV of 70˚.
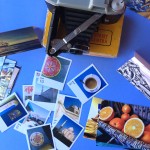
8 old camera
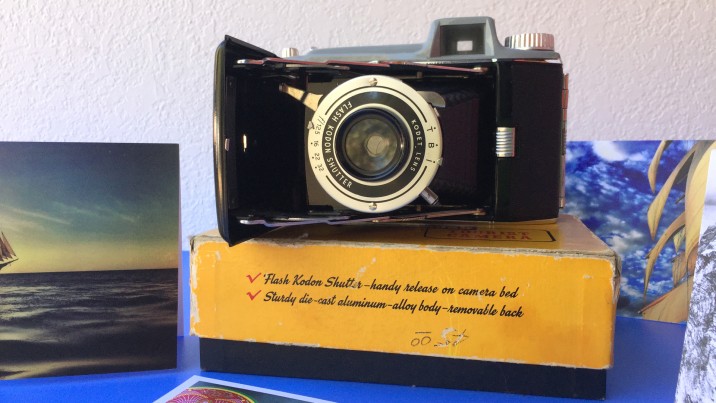
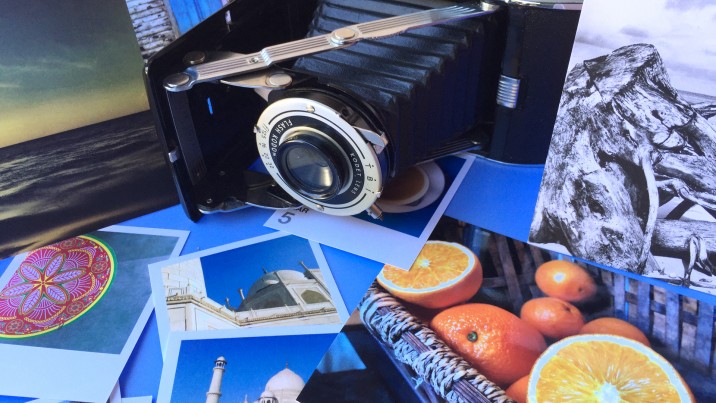
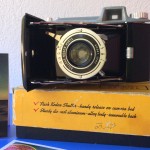
A 30mm lens equivalent is a ‘wide angle’ lens (for all practical purposes). Generally speaking, a wide-angle lens would NOT be your first choice for shooting small product photography. When you get close with a lens like this, the object you are shooting will have ‘barrel distortion’. This is because the FOV of the lens is wider than the size of the image sensor and needs to be ‘squeezed in’. My suggestion, and to avoid ‘barrel distortion’ in this instance, is to stay back. Don’t get too close. Shoot it ‘loose’ (about 12-18” away) and then crop later if needed.
Using Manual Controls
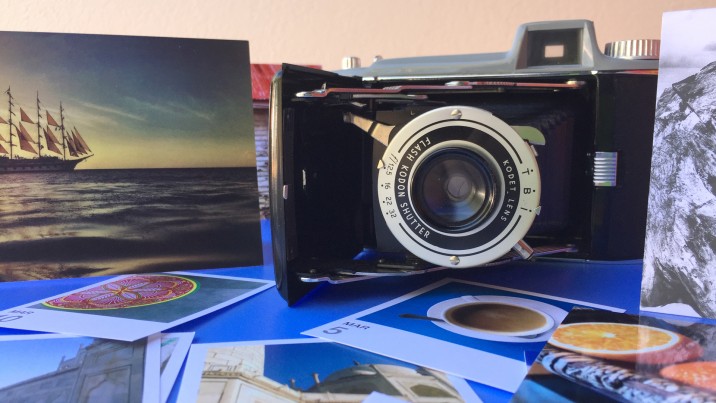
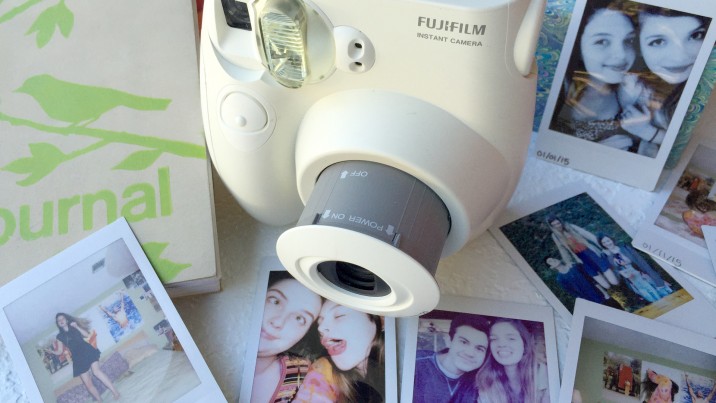
If you only shoot in auto mode, I think you’ll find, in small product photography, you’ll be disappointed with the end results. When you shoot in auto, you’re putting the camera in control of exposure, focus, and white balance. To achieve your creative intent, you need to be in total control of these variables. This is exactly why, when shooting small product photography, you’ll most often see me shooting with the Camera+ app, which gives me complete and independent control over exposure, focus and white balance. This gives me the ability to take photos that turn out exactly as I envisioned them.
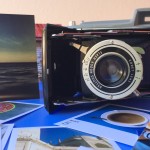
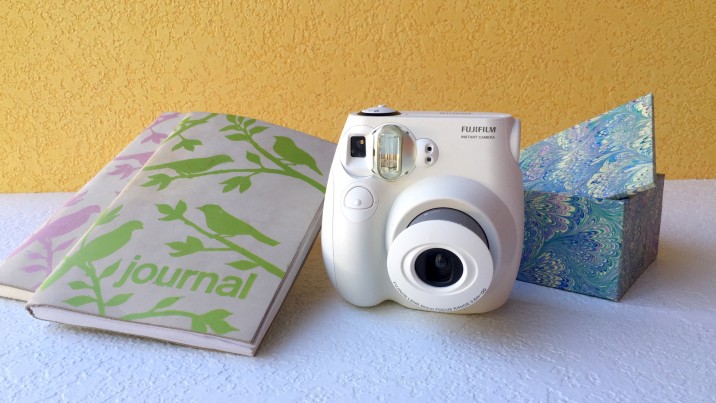
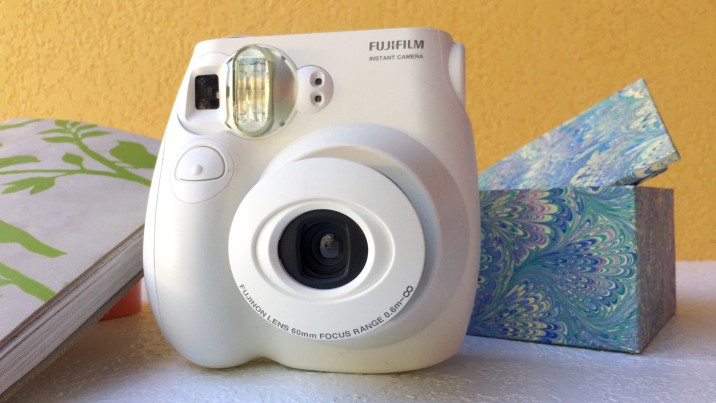
9 fuji instant camera
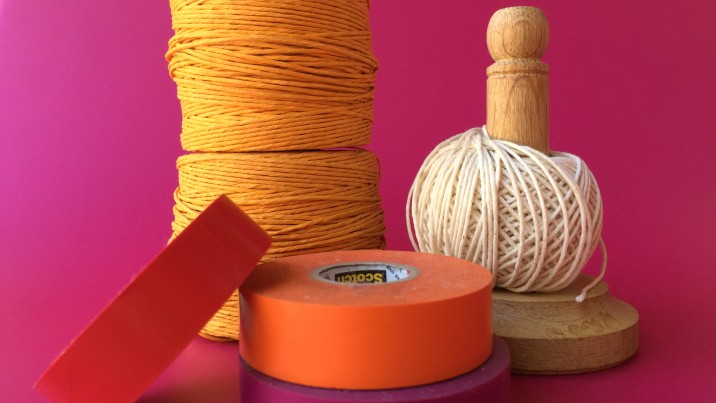
Styling and Personal Taste
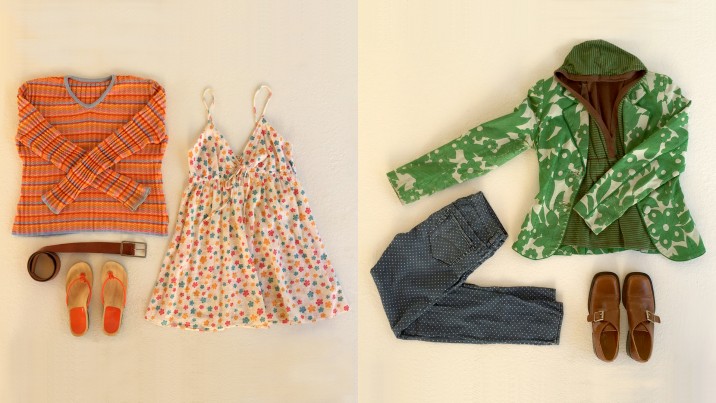
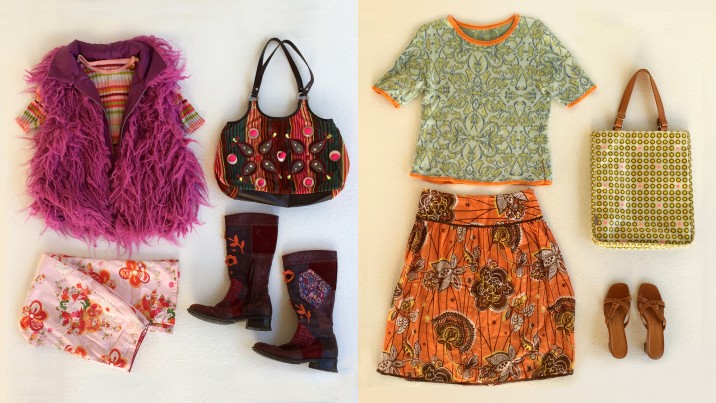
Styling, in a nutshell, is every single adjustment you make, large or small, to improve the overall look or feel of the object you’re photographing. Styling is applying the basic building blocks of design to your photos – color, composition, and layout. Styling is putting the ‘you’ in your photographs and showcasing your very own personal aesthetic.
10 clothes
Conclusion
Forget all the tech jargon and photography nomenclature. Gather up your product. Bathe that product in soft, beautiful, indirect light. Use a photo app that gives you manual control over exposure, focus and white balance. Shoot a good spread of coverage (i.e. horizontals, verticals, tight crops, loose crops, and varying angles). Then add some good old-fashioned fun to the equation and I think you’ll find the small product photography experience quite exciting and addictive. Once you have a couple of successful shoots under your belt, you’ll start looking at all the everyday objects lying around your home or office as subjects for your artistic mastery. Enjoy!
Featured Posts
-
 Camera+ 10 arrives with full depth support, HEIF, accurate viewfinder and smiles!
by Pedro Cuenca
Camera+ 10 arrives with full depth support, HEIF, accurate viewfinder and smiles!
by Pedro Cuenca
-
 A Beginners Guide for Manual Controls in iPhone Photography: ISO
by Jack Hollingsworth
A Beginners Guide for Manual Controls in iPhone Photography: ISO
by Jack Hollingsworth
-
 A Beginners Guide for Manual Controls in iPhone Photography: Shutter Speed
by Jack Hollingsworth
A Beginners Guide for Manual Controls in iPhone Photography: Shutter Speed
by Jack Hollingsworth
-
 How To Shoot Close-Up and Macro Photography With Your iPhone
by Jack Hollingsworth
How To Shoot Close-Up and Macro Photography With Your iPhone
by Jack Hollingsworth
Who Linked To This
28 Comments
Great stuff Jack. Found your work on Snap as I was looking for IPhone Food Photography. Looking forward to learning more from you. Do you have any training videos or DVD to learn more about Iphoneoraphy?
Thanks, Chef Juan
Another great video. I always learn a lot from your videos. I’d really like you to do an “A Beginers Guide for Manual Controls in iPhone Photography: White Balance”. I still have many questions on this topic and I’m sure a video on this would be very interesting. Thanks.
We have completed a video on White-Balance. Waiting to post. Stand by
Glad to know. Thank you.
Hi Jack
Love the videos, just wondering where you get the background music, is it public or private
Cheers Steve
All is the music in these videos is Royalty-free music and is licensed through AudioJungle http://audiojungle.net/?osr=tn&_ga=1.9809717.106258844.1428075121
Great, thanks for the reply Jack
Hi Jack. You have a natural & easy teaching style. Thanks for this crisp and entertaining video. Learned a lot. The music complements it beautifully. Julia
Dear Mr. Hollingsworth,
Words cannot describe how happy I am to find your tutorials. I was a professionally trained classical musician and lately have found my profound love in photography. I’m also a foodie so I really appreciate everything you’ve shared with us here. You are great ! I look forward to learning more from you. Best, Chih-Yu
Hi Jack,
Absolutely love the video. Appreciate your efforts.
I shoot clothes from a bird’s eye using artificial light. I have the Camera+ app but don’t really know how and when to change the settings to achieve the best results. Any tips or advice?
Thanks again!
Adam
Adam, what “settings” in particular are you referring to? Are you talking about “Exposure settings” or “White balance settings” or some other sort of setting?
Thanks for the tips.
I always use DIY Small Studio Box with white background.
For lighting, I use two table lamps in two side of the box (left and right side).
The result is good.
Jack, You are living proof that the price of the camera does not matter – just using the most basic (but wickedly clever) camera on the planet your creativity shines through. One in the eye for all the ‘geareads’ who just throw money at the problem, never thinking it’s their lack of imagination is the reason that their shots suck! Great video to!
I am an artist and have trouble photgraphing my paintings. I would love you to do a video on how to photgraph paintings properly.
Another winner Jack… I loved watching this tutorial. I am thinking of painting some backgrounds on nice watercolour paper. Doing a lot of yarn-wool-knit stuff and will be teaching a class soon, hmmm… maybe I should just invite you over instead of trying myself! Thank you a 1000 times for making those videos. So appreciated! You make my life a lot simpler? Simplier? (Sorry, flemisch/dutch speaking)
Thanks!
Its such a nice tutorial.Even though i am also a photographer but your tutorial inspire me a lot.Your tutorial really helps to newbie product photographer.
Love the video. Thanks a lot!!!
I wanted to buy the polymer backgrounds you used, but it seems Modahaus no longer sells just the backgrounds. Do you have another source?
Thanks.
Beautiful. Thanks for helping the newbies! We are going to use an iPad for our photos, is it the same as the iPhone? Also, getting the correct color is the hardest part for us, especially since I have limited availability as far as times I can photograph. Do you have suggestions if the colors don’t look true?
Thank you for such a wonderful explanation!
Can you please suggest some other backdrops other than Modahaus?
Thank you for this very encouraging information.
I have the Camera+ app. I noticed that ADAM asked about locating and changing the settings. The only settings I have found are fexposure, focus, size and icons that lock the focus, WB, and exposure. Nothing else! The paddle shape on the mid right hand side that displays a camera and a lens icon does nothing. The lines on the lower right hand side are it active either.
I would like to remote shoot using one iPad as the lens and another iPad to view and control what the first IPad is seeing.
Oh please help!
Kindly give a suggestion of how to take photo of copper bottle. I want to focus only bottles
Hello there!
You Need Leads, Sales, Conversions, Traffic for snapsnapsnap.photos ? Will Findet…
I WILL SEND 5 MILLION MESSAGES VIA WEBSITE CONTACT FORM
Don’t believe me? Since you’re reading this message then you’re living proof that contact form advertising works!
We can send your ad to people via their Website Contact Form.
IF YOU ARE INTERESTED, Contact us => lisaf2zw526@gmail.com
Regards,
Kincheloe
Hey my self Madhuri i have 3 years of experience in Body to Body Massage services. I gave 100% satisfied service to to our customers through our best spa center IZSPA in Bangalore.Visit Massage parlour near me
Our Spa69 most luxurious Spa that you visited under affordable prices that we bring international body massage service to our customers with there preferred packages.Visit female to male spa near me
wonderful blog Visit sandwich massage near me
massage is a great way to relieve muscle pain, soreness, and tension. It doesn’t matter whether this pain was caused by physical or mental stress Visit body massage spa near me
I really like your blog post very much.
Row covers
Do you ever wonder how your favorite movie poster might appear in person? It’s always been a dream of mine to own one of these magnificent works of cinema art, but https://www.cvtreasures.com aren’t cheap. That’s why we created the Treasures Gallery: the finest collection of movie artifacts that transfers you from the screen to your living room. Despite the fact that the majority of these posters are available as framed prints or greeting cards,