How to Shoot Great Portrait Photography with Your iPhone

About Jack Hollingsworth
Jack Hollingsworth, a denizen of Austin, TX, is an award-winning, 30-year career veteran in commercial photography. Jack has fallen in love with his iPhone camera as his primary capture tool. He is also an avid Camera+ devotee and has been since day one. He deeply believes that, when all is said and done, the iPhone may just be remembered as the most influential capture device ever in the history of photography.
Portrait photography is photography of an individual or group of people that tries to capture personality and mood of the subject being photographed. While portrait photography can easily include the entire body or background of the persona being photographed, the focus of most portrait photography is usually on the person’s face.
I like to think of mobile portraiture as series of questions. At first, this simple exercise will seem stiff and mechanical, but over time, as you get comfortable with the process, asking these questions to yourself will become second nature and, hopefully, will result in some inspiring photography.
I’ve spent the better part of my commercial career shooting portraits, at home and abroad. Without a doubt, people photography continues to be my favorites. There is something so very deeply magical, mystical and memorable when you make a momentary connection with another human being, in a fraction of a second, and have proof of that fleeting encounter. It’s very important, in portraiture, to make sure that the eyes are in focus. The eyes provide a window to the rest of the photography.
In portraiture, it’s probably more important to exclude elements in the frame more that it is to include them. Simplify. Even in iPhoneography, it’s really about coaching subjects to relax, breathe easy, have fun, loosen up, and be themselves in front of the camera. And remember, don’t get too close or the facial features will become too exaggerated.
Cropping
The first question to ask yourself is: Where do you plan on cropping the photo? Do you want a full-length photo of the person or just the face or maybe something in between?
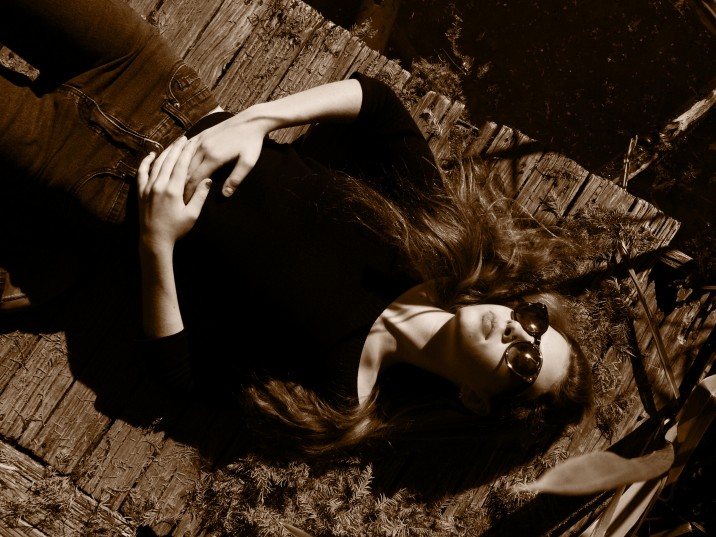
FULL LENGTH
This is where you include the whole body – head to toe. It’s one of the most difficult crops since you have to figure in both the background and the pose. For full length, keep the background as simple as possible so that it doesn’t compete with your subject.
01.1 full length
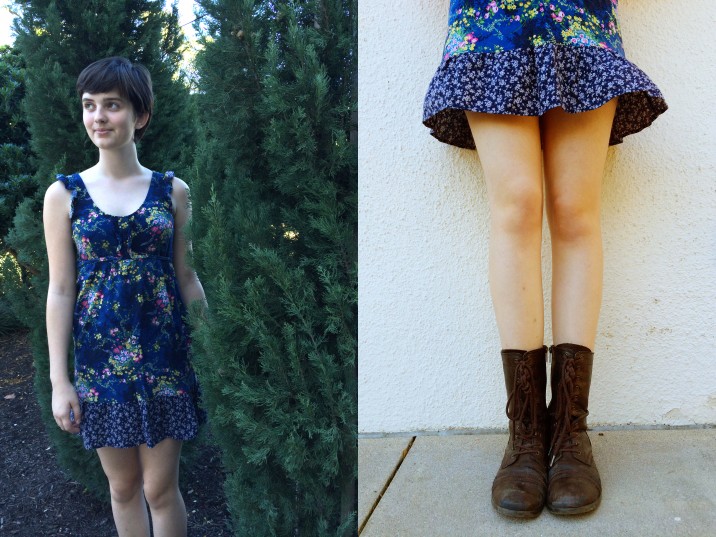


THREE QUARTER LENGTH
This is where you crop slightly right above the knees – drawing attention to hips, torso and head. As you get ‘closer’ to subject, you need to pay attention to the details – what person is wearing, stance, placement of the hands, color of background, etc.
01.2 three quarter length


HEAD AND SHOULDERS
This crop is probably the most classic for mobile portraiture – easy to set up and usually results in a flattering look and feel.
01.3 head and shoulders


FACE
This is where you get as close as you can and focus the viewers attention solely on the subject’s face, expression and character.
01.4 face


Crop vs. Zoom
While it’s tempting to use the smartphones’ digital zoom for a more relaxed looking portrait, I suggest that, instead of using the digital zoom, you crop the photo in post-production software. Digital zoom doesn’t really capture any additional detail. As a matter of fact, it adds pixels via interpolation. I find that iPhone file sizes are big enough to crop an image using any number of post-production apps that have a cropping tool.
Orientation: Horizontal vs. Vertical
This is fairly obvious, but for every portrait taken, you have the option to shoot either horizontally (called ‘landscape’) or vertically (called ‘portrait’). Most portraits are more natural in vertical mode, hence the name. If you want to show more of the contextual background, go with horizontal.
03 orientation horizontal vs vert


Permission vs. Forgiveness
For the kind of mobile portraits I tend to shoot, I always ask permission first, rather than forgiveness after the fact. It’s more professional, polite and respectful.
Exposure: Under vs. Over
This is a personal choice. Some, like myself, have a tendency to slightly ‘underexpose’ the portrait. It is much easier to recover detail out of the shadow area than to try to pull detail of out a ‘blown out’ area. The key in mobile portraiture is to make sure you properly expose for skin tones. I use Camera+ and generally put my exposure reticle right on the brightest part of the person’s face.
05 exposure under vs over
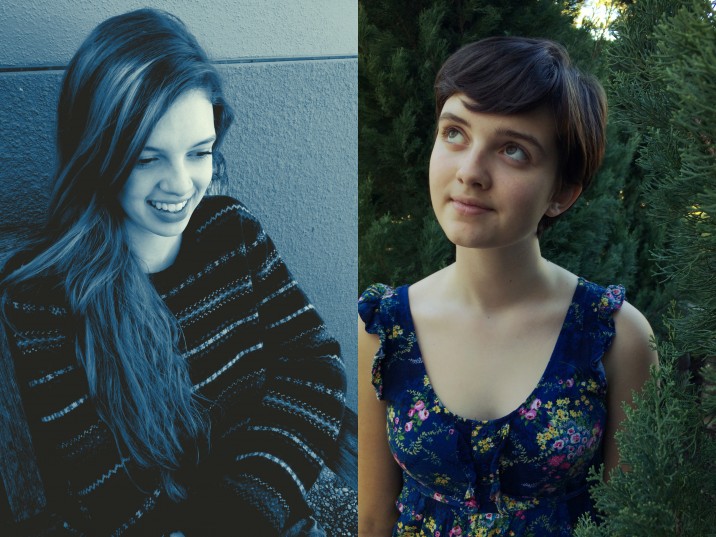


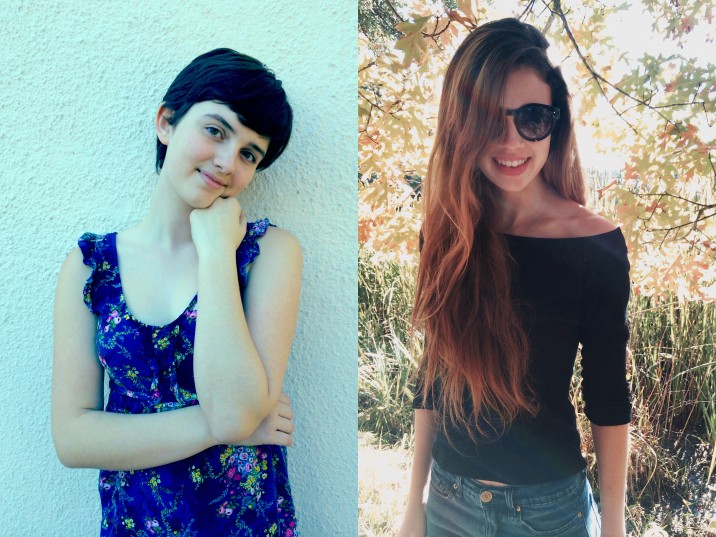
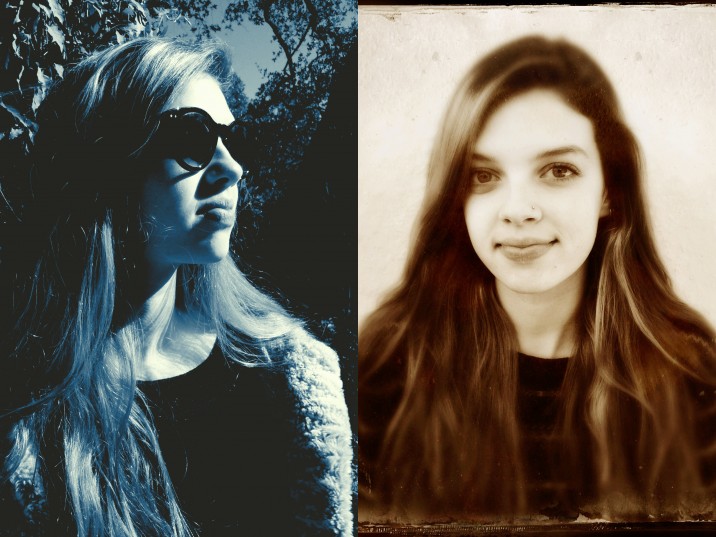
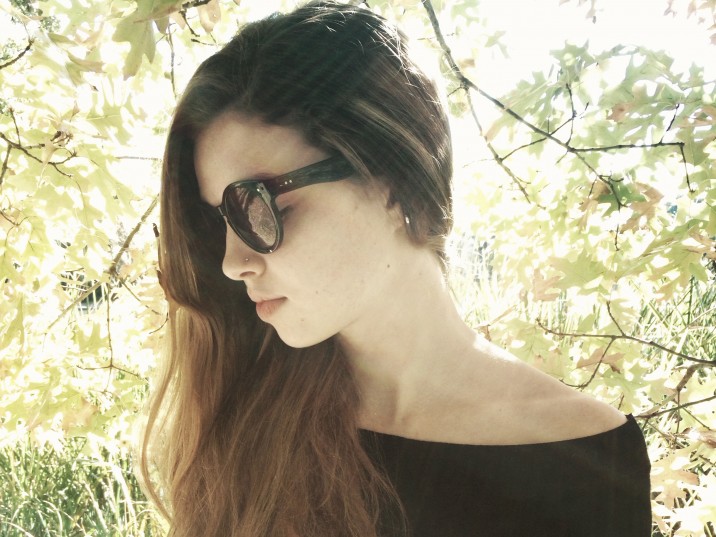
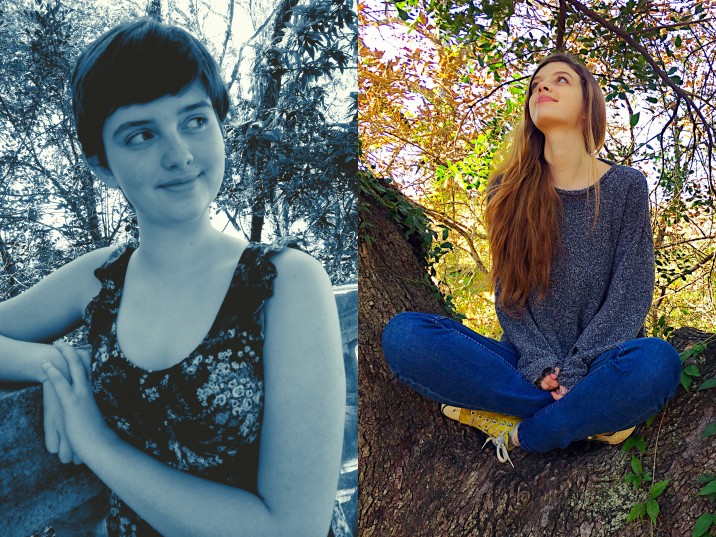
Color Temperature: Cool vs. Warm
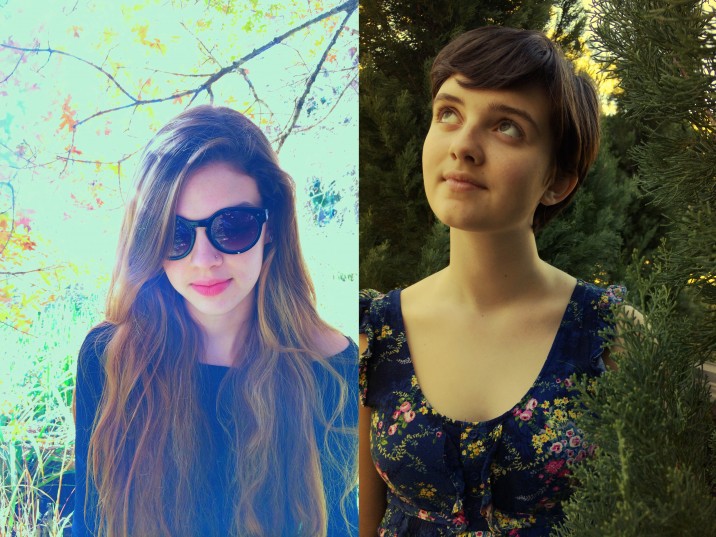
As a general rule, I prefer my mobile portraits to live on the ‘warmer’ end of the color spectrum so I lock my white balance on a color temperature that is on the warmer side. There are times when a portrait can benefit from a ‘cooler’ treatment, but only when you are going for a certain effect. Most of the time a portrait looks natural and healthy when you slightly ‘warm’ them.
06 color temp cool vs warm


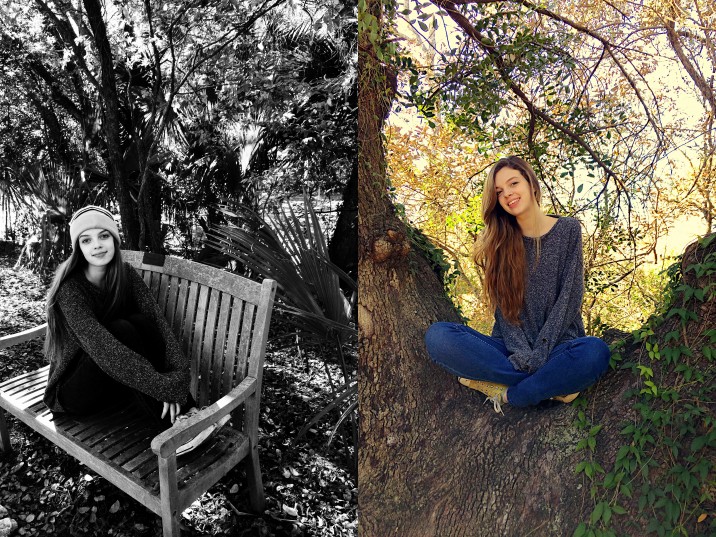
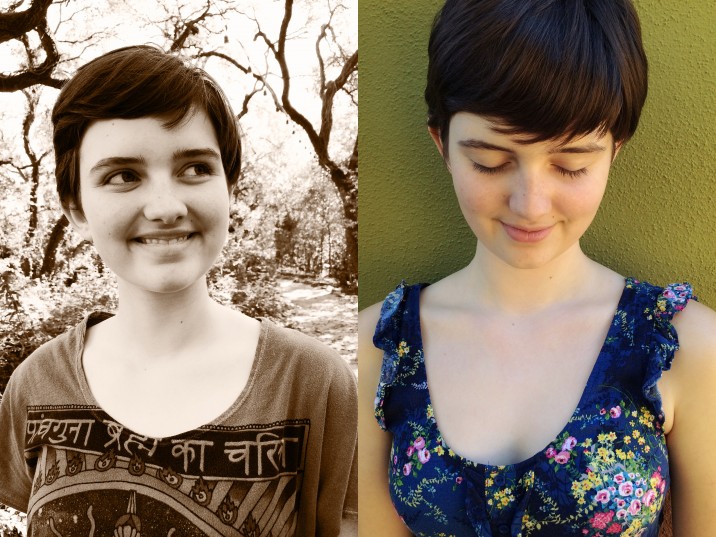
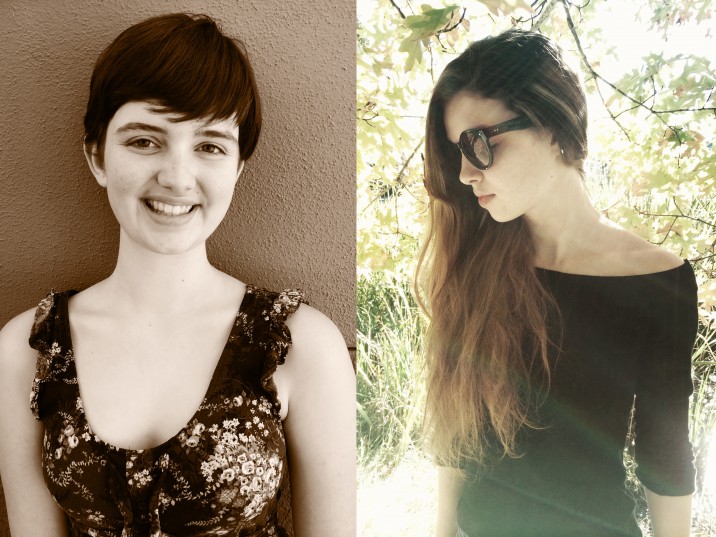
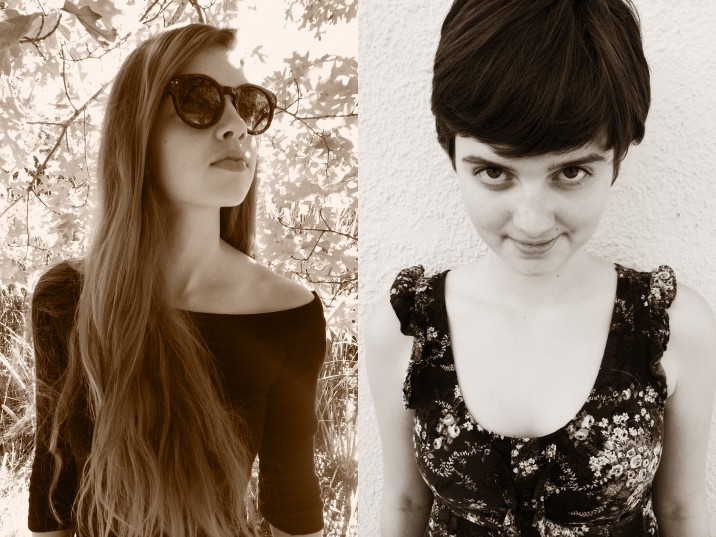
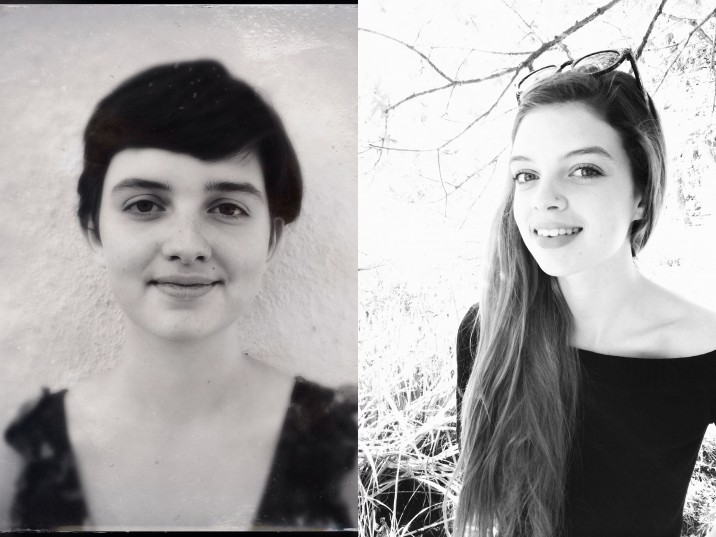
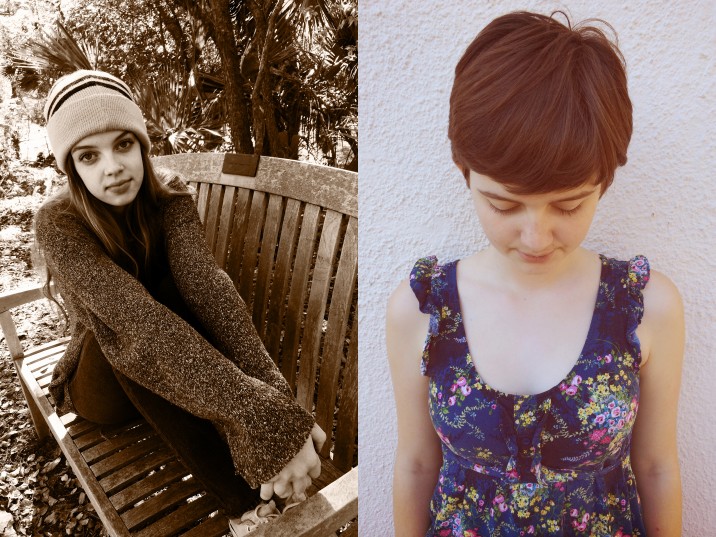
Color vs. B&W
This is another highly personal choice. I generally shoot color and I generally go to B&W when I consider the scene to be high in contrast. I also like several of the monochromatic filters you find in Camera+. Nothing like adding spice to a scene!
07 color vs b&w


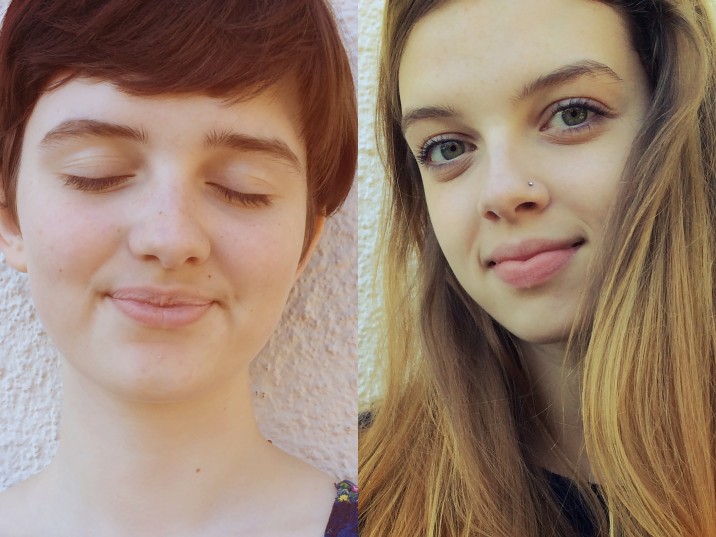
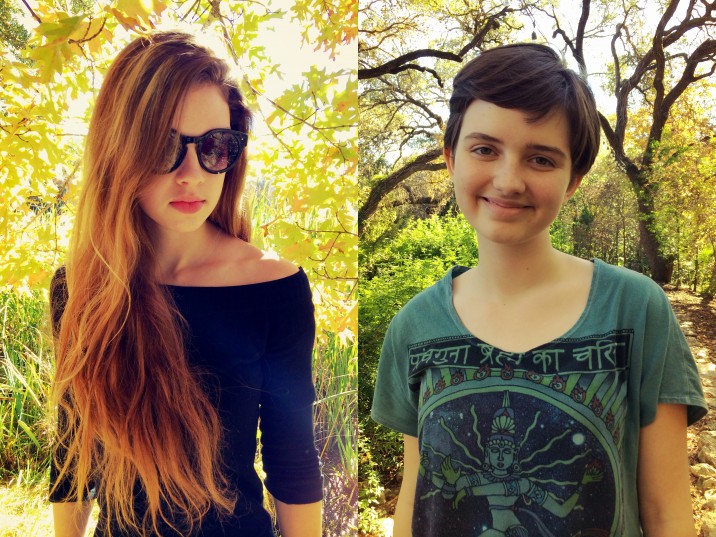
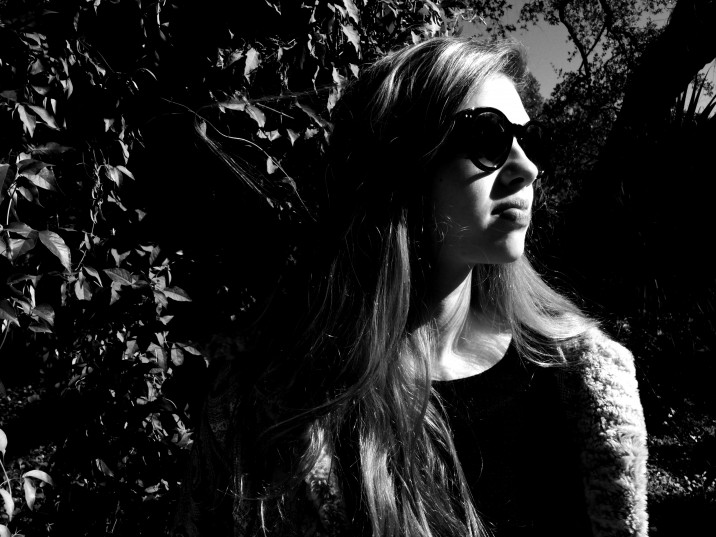
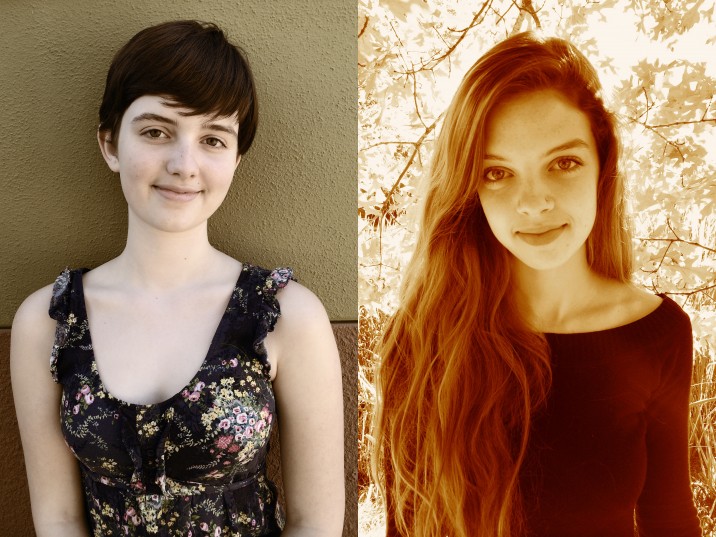
Light: Direct vs. Indirect
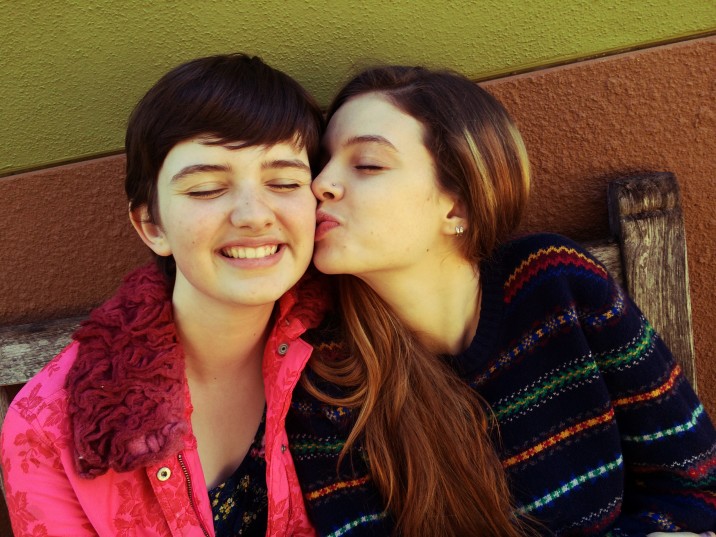
Whenever possible, I almost always prefer indirect light on my subject. It’s just more flattering, soft and even. Indirect light makes it easier on the subject as well, to make eye contact with the camera and avoid squinting. I might opt for direct light in early morning or late afternoon when the sun is low on the horizon and nicely ‘models’ the face.
08 light direct vs indirect


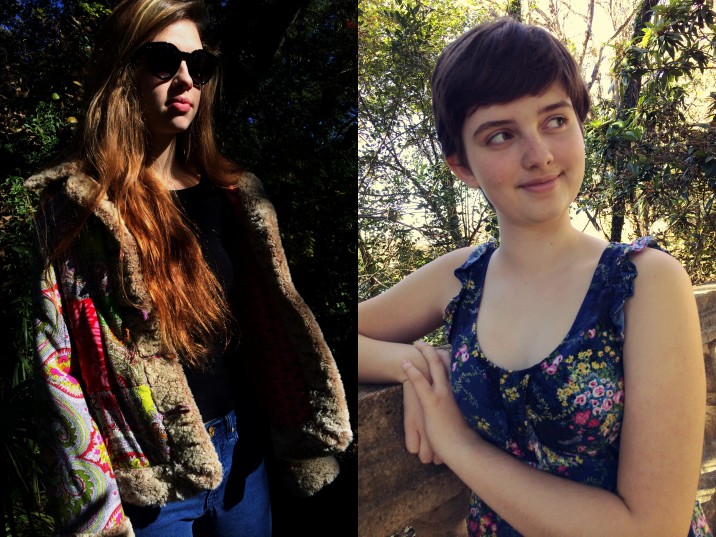
Filters vs. No Filters
My mantra for mobile portraiture is ‘Give the image a chance’. See if the image can stand on its own without filtering. I find that ‘over filtering’ brings undue attention to the techniques themselves rather than the subject you are trying to showcase. Again, this is a highly personal choice. For me, I like my portraits to have a strong ‘photographic’ style, rather than a strong ‘filter’ style.
09 filters vs no filters


Busy vs. Simple Backgrounds
Many mobile photographers have never learned the cardinal rule of simplifying the background. They wonder why some portraits look better than others without fully realizing that when the background is plain and simple, the viewer’s eye is drawn to the subject. It doesn’t have to compete with a busy complicated background.
10 busy vs simple bkgds
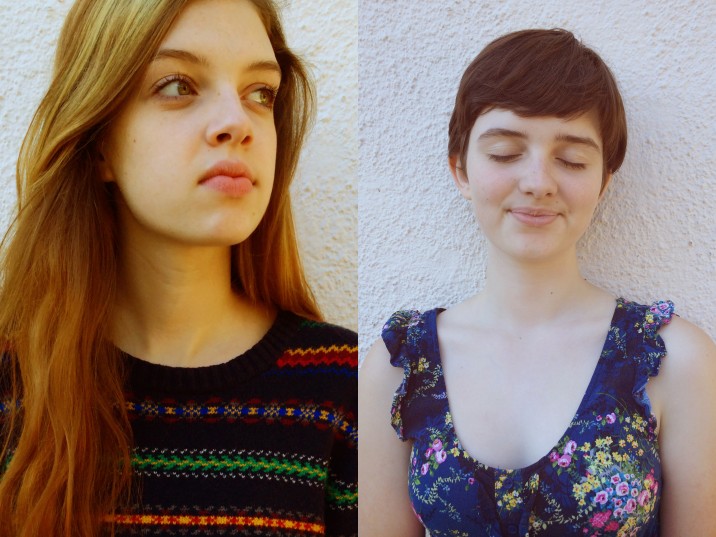


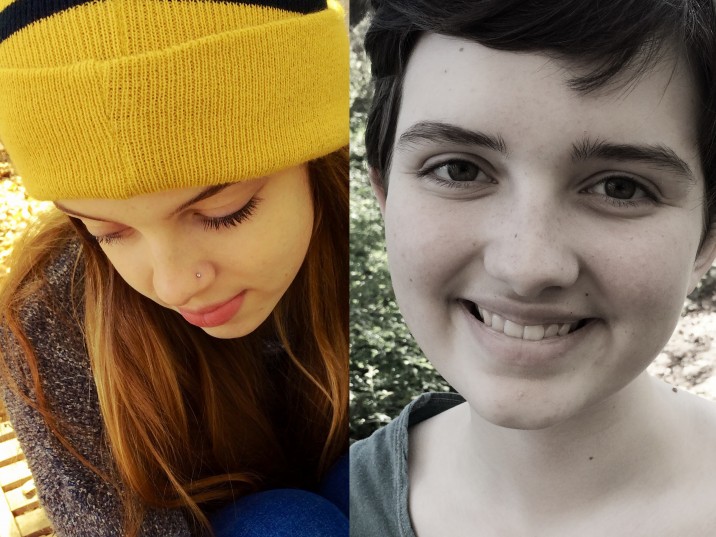
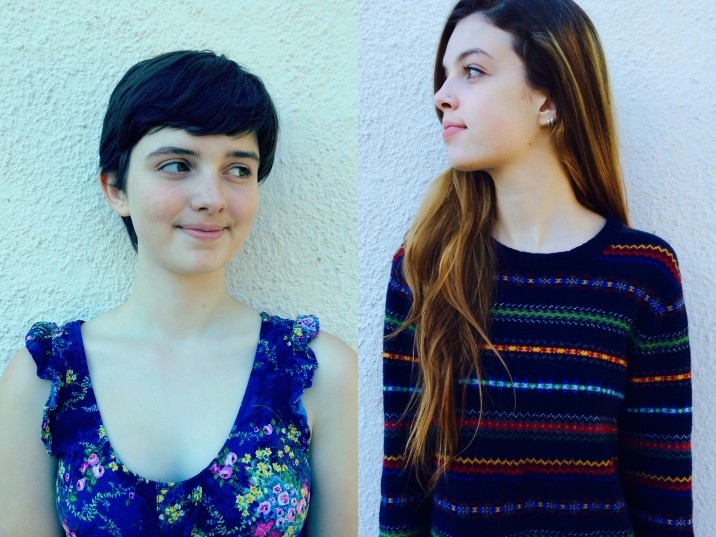
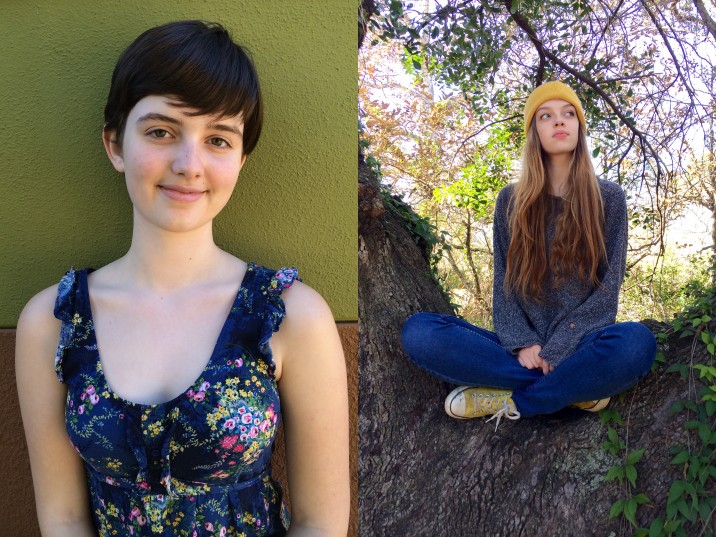
On Camera vs. Off Camera
‘On camera’ is when the subject is looking directly into the lens. This is, by far, the most intimate portrait connection between subject and viewer. The common ‘off camera’ look is when your subject looks slightly off the lens axis and not directly at the camera. This style can create a more ‘documentary’ look and feel.
11 on camera vs off camera


12 Comments
Leave a Reply
Featured Posts
-
 Camera+ 10 arrives with full depth support, HEIF, accurate viewfinder and smiles!
by Pedro Cuenca
Camera+ 10 arrives with full depth support, HEIF, accurate viewfinder and smiles!
by Pedro Cuenca
-
 A Beginners Guide for Manual Controls in iPhone Photography: ISO
by Jack Hollingsworth
A Beginners Guide for Manual Controls in iPhone Photography: ISO
by Jack Hollingsworth
-
 A Beginners Guide for Manual Controls in iPhone Photography: Shutter Speed
by Jack Hollingsworth
A Beginners Guide for Manual Controls in iPhone Photography: Shutter Speed
by Jack Hollingsworth
-
 How To Shoot Close-Up and Macro Photography With Your iPhone
by Jack Hollingsworth
How To Shoot Close-Up and Macro Photography With Your iPhone
by Jack Hollingsworth
Hi your tips are really useful
A really useful tutorial. And lovely daughters!
Thank you very much!
likeee
I found your tutorial very helpful. Thank You for all the great tips. Hope you will have more!
This is great Jack, really great. Packed full of information from a professional photographer. Marvellous. The only bit I was a bit unsure of is the White Balance section. I always thought cool light was just outside. When you say you locked your white balance on the warm area, duesn’t the phone try to compensate by making the image “cooler” not “warmer”, therefore, once you’d looked the WB on the warm sky and swung round the setting WB would be cool. Any clarification very welcome. This is a great informal series Jack!
How to shoot great portraits with an iPhone: throw out your iPhone and buy a real camera.
Making shitty photos slightly less shitty is a noble cause, or you could learn some real photography and stop this nonsense.
Excellent material!!!! Thanks for sharing!!!
Mark,did that make you feel better?
For those of us who may only be working with our phones, there’s tips are valuable. Your comment is not.
hola que modelo de iphone ultiliza es el iphone 4 o 4s,gracias
You claim you adjusted the white balance by looking at the warm sky, but wouldn’t the phone attempt to compensate by making phrazle the picture “cooler” instead of “warmer”? If so, the white balance would be set too cold once you swung the camera around. Any help would be much appreciated. I’ve been enjoying this casual series of yours, Jack.
BitLife is a text-based life simulation game that allows players to live out a virtual life from birth to death.
I really hope there will be a lot more content like this. I am grateful that you shared your information with me. Your blog has been bookmarked because I discovered some extremely useful information on it.